Angular学习
Angular权威指南 1 编写编写你的第一个应用 1:环境搭建 参考文档:https://angular.cn/guide/setup-local
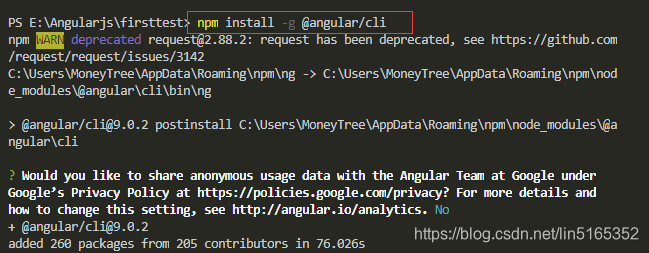
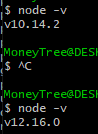
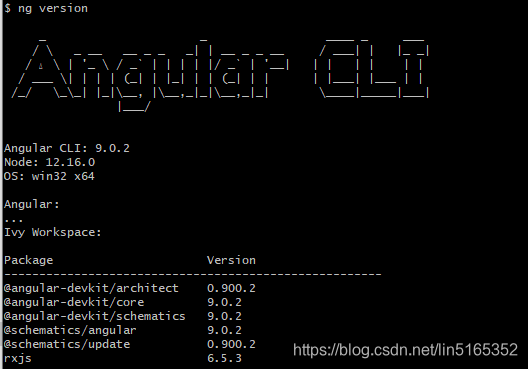
1.1:安装 Angular CLI 你可以使用 Angular CLI 来创建项目、生成应用和库代码,以及执行各种持续开发任务,比如测试、打包和部署。npm install -g @angular/cli //版本号:9.0.2
1.2:创建工作空间和初始应用 你要在 Angular 工作区的上下文中开发应用。
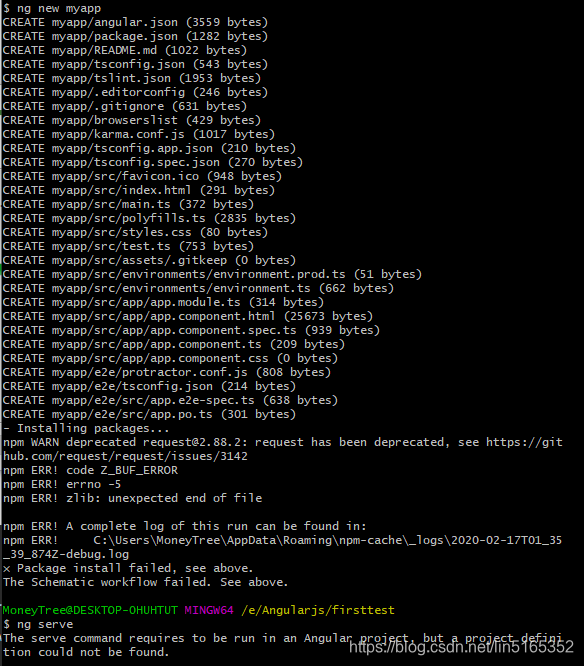
1
2
3
4
运行 CLI 命令 ng new 并提供 my-app 名称作为参数,如下所示: ng new my-app //不能以数字开头,-后面也不能是数字。 ng new 命令会提示你提供要把哪些特性包含在初始应用中。按 Enter 或 Return 键可以接受默认值。 123
Angular CLI 会安装必要的 Angular npm 包和其他依赖包。这可能要花几分钟的时间。
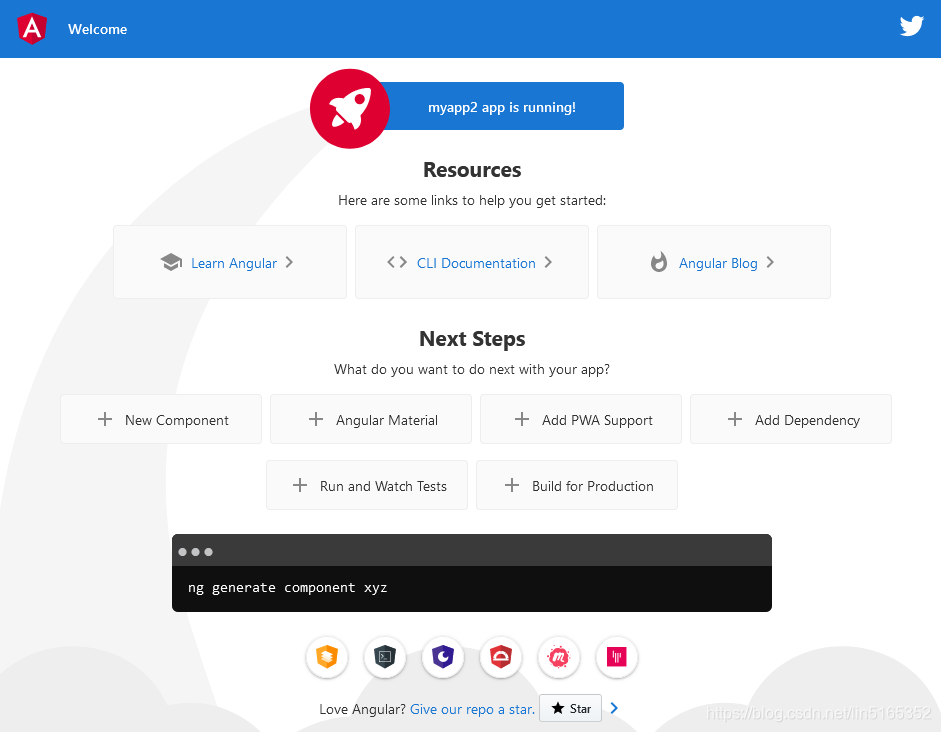
1.3:运行应用 Angular CLI 中包含一个服务器,方便你在本地构建和提供应用。
1
2
3
转到 workspace 文件夹(my-app)。 使用 CLI 命令 ng serve 和 --open 选项来启动服务器。 12
cd my-app
–open(或者只用 -o 缩写)选项会自动打开你的浏览器,并访问 http://localhost:4200/。 "start": "ng serve --open --port 8956",是对应的,所以我们可以直接修改配置然后保存起来,下次就可以直接运行 npm run start 或者 ng serve。
2、熟悉angular 2.1、创建Component 创建第一个组件,使用angular-cli命令来创建组件。ng generate compont hello-world 可以简写成 ng g c hello-world
2.2、加载Component 加载组件,此时“app-hello-world”就变成了类似html中的一个普通标签,比如div。
2 TypeScript 类型、类、注解、模块导入
3 工作原理 数据input output
1 2 3 4 5 6 7 8 9 10 11 12 13 14 15 16 17 18 19 20 21 22 23 export class ItemOutputComponent { @Output () newItemEvent = new EventEmitter <string>(); addNewItem (value: string ) { this .newItemEvent .emit (value); } } <label>Add an item : <input #newItem > </label > <button (click )="addNewItem(newItem.value)" > Add to parent's list</button > <app-item-output (newItemEvent )="addItem($event)" > </app-item-output > export class AppComponent { items = ['item1' , 'item2' , 'item3' , 'item4' ]; addItem (newItem: string ) { this .items .push (newItem); } }
4 内置命令 ngIf 1 2 3 4 <div *ngIf ="false" > </div > <div *ngIf ="a>b" > </div > <div *ngIf ="str === 'yes'" > </div > <div *ngIf ="myFunc()" > </div >
ngSwitch ngStyle 1 2 <div [style.background-color ] = " 'yellow' " <div [ngStyle ] = "{ color: 'while' , 'background-color' : 'bule' }" > </div >
ngClass 1 <div [ngClass ] = "{bordered:falses}"
ngFor 1 2 3 4 *ngFor="let item of items" 索引:let idx = index 还有对应的first 、last、even偶数、odd奇数
ngNonBindable 1 <div ngNonBingdable > {{ content }}</div >
5 Angular中的的表单 6 HTTP ng4和ng9的api差别老大了。下面是ng9的代码。
先需要引入HttpClientModule。ng4中是需要引入4个。
一个简单的get请求
1 2 3 4 5 6 import { HttpClientModule } from '@angular/common/http' ;imports : [ BrowserModule , HttpClientModule ],
1 2 3 4 5 6 7 8 9 10 11 12 13 14 15 16 17 18 19 20 21 22 23 24 25 26 27 import { Component , OnInit } from '@angular/core' ;import { HttpClient } from '@angular/common/http' ;@Component ({ selector : 'app-simple-http' , templateUrl : './simple-http.component.html' , styleUrls : ['./simple-http.component.css' ] }) export class SimpleHttpComponent implements OnInit { loading = true ; data : Object ; constructor (private http: HttpClient ) { } ngOnInit (): void { } makeRequest ( this .http .get ('http://jsonplaceholder.typicode.com/posts/1' ) .subscribe ((res: Response ) => { console .log ('res :>> ' , res); this .data = res; this .loading = false ; }); } }
1 2 3 4 5 //html <h2 > Basic Request</h2 > <button type ="button" (click )="makeRequest()" > Make Request</button > <div *ngIf ="loading" > Loading……</div > <pre > {{data | json}}</pre >
7 路由 8 依赖注入 9 Angular数据架构 10 使用可观察对象的数据架构:服务 11 使用可观察对象的数据架构:视图组件 12 基于TypeScript的Redux简介 13 在Angular中引入Redux 14 高级组件 15 测试 16 把AngularJS应用升级到Angular Angular开发实践 
 此时的目录结构是这样:
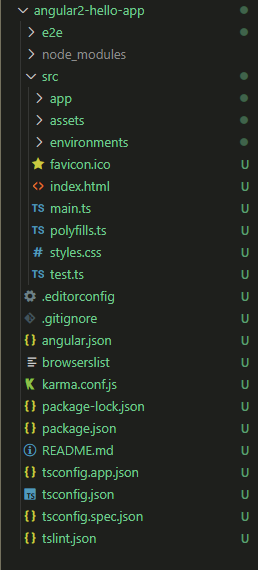
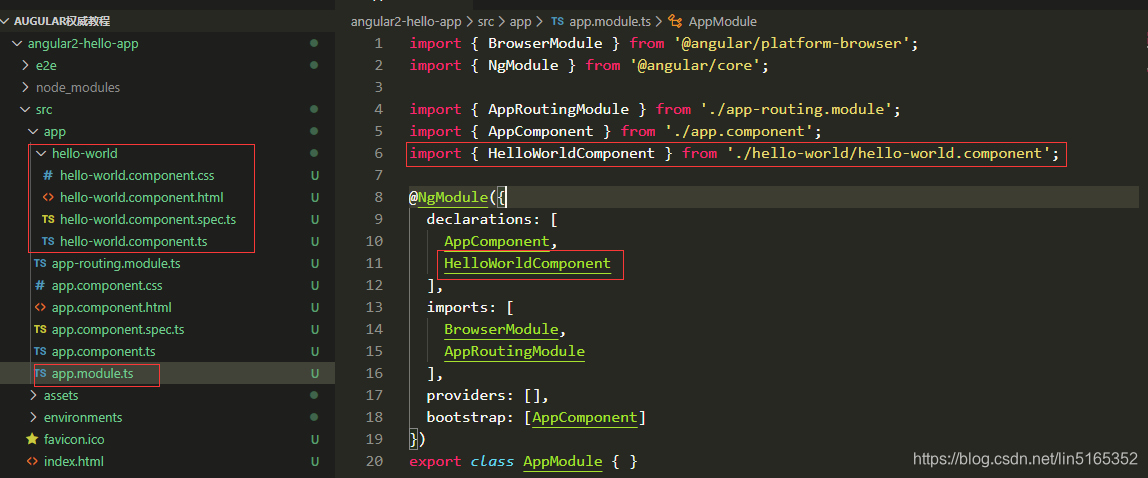 hello-world.component文件:
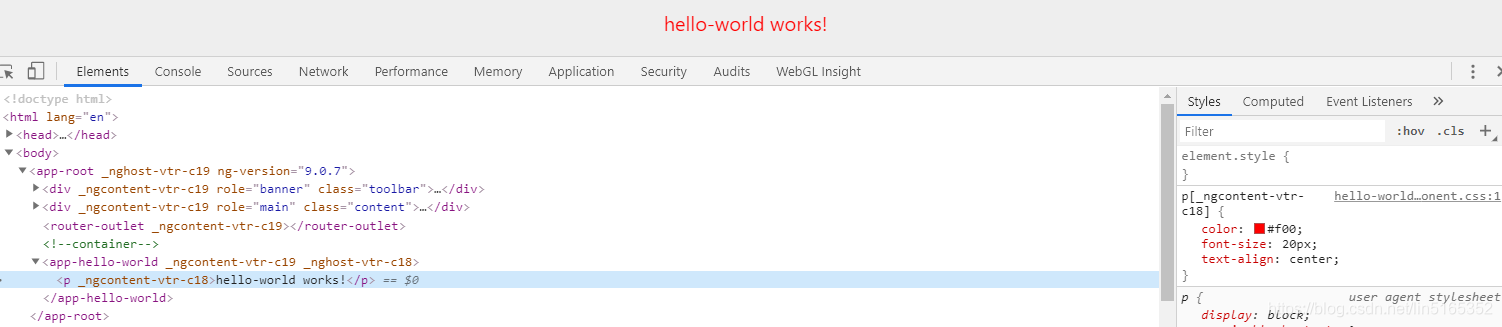
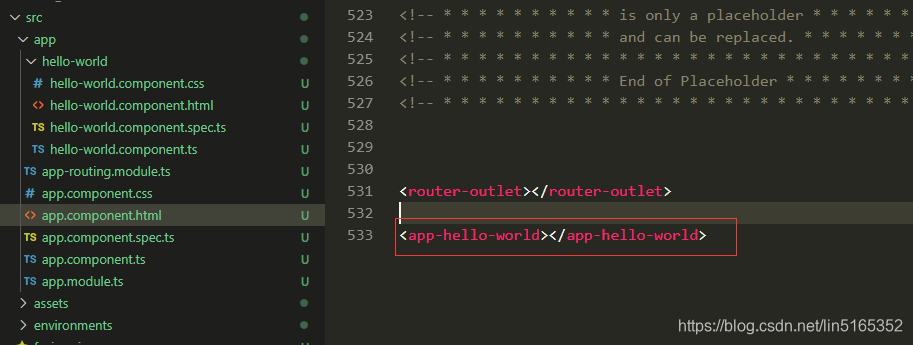 添加在页面的底部。
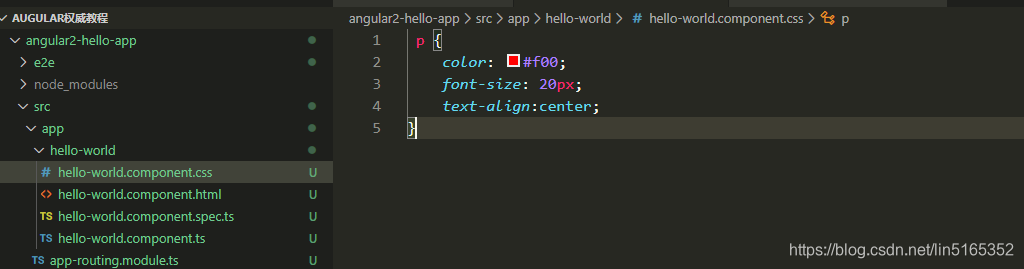
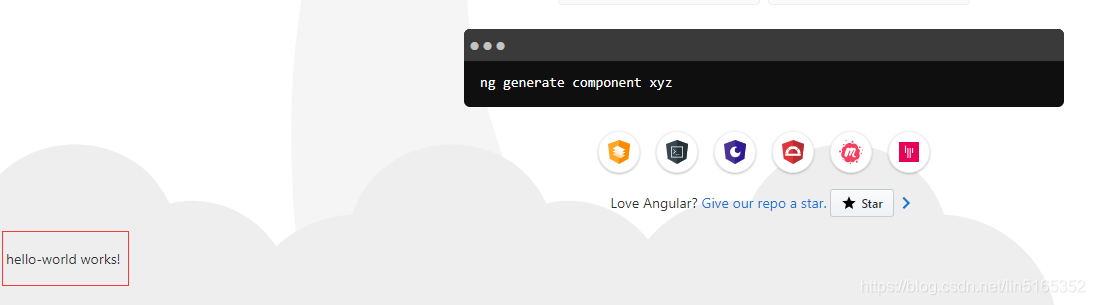 改变他的样式: